How to create a project or event
Workast is the ideal place to plan, deploy, and complete a project or an event. You can create a Space for the project, create lists, add team members, and assign tasks all within the Workast web app. Click here to sign up.
Creating a Space for your project
To create a space in the Workast web app:
Click on + next to "Spaces" in your left-hand taskbar. A space creation dialogue will open.
Name: Name your space.
Type: Pick which type of Space you are creating.
Privacy: Select who can join the space. The default selection is "Anyone in the workspace" which makes it a public space. To change the space to private, click the button next to "Only people invited".
Click the blue "Create" button.
A new dialogue will open. You can choose to "Start from scratch", pick a custom template (or create one if you haven't), or select one of our Library. Templates are useful if it's a repetitive project that requires the same set of tasks. To learn how to create and use templates click here.
You can create a space directly from Slack connected to a channel. Follow this guide to learn how to do it.
Creating lists for your project/event
The next step in creating the space for your project/event is adding lists, which will allow you to seamlessly organize your tasks.
To create lists for your space:
Click on the space where you want to create the list.
Scroll to the bottom of the page where you will see the option to Create a new list.
Type the name of the new list and press enter to create.
Repeat steps to create multiple lists.
The pin icon indicates the default list in the space.
To set a list as the default list in the space, click on three vertical dots on the right-hand side of the list and click "Make default".
To delete a list in the space, click on the three vertical dots on the right-hand side of the list and click "Remove".

Creating and assigning tasks
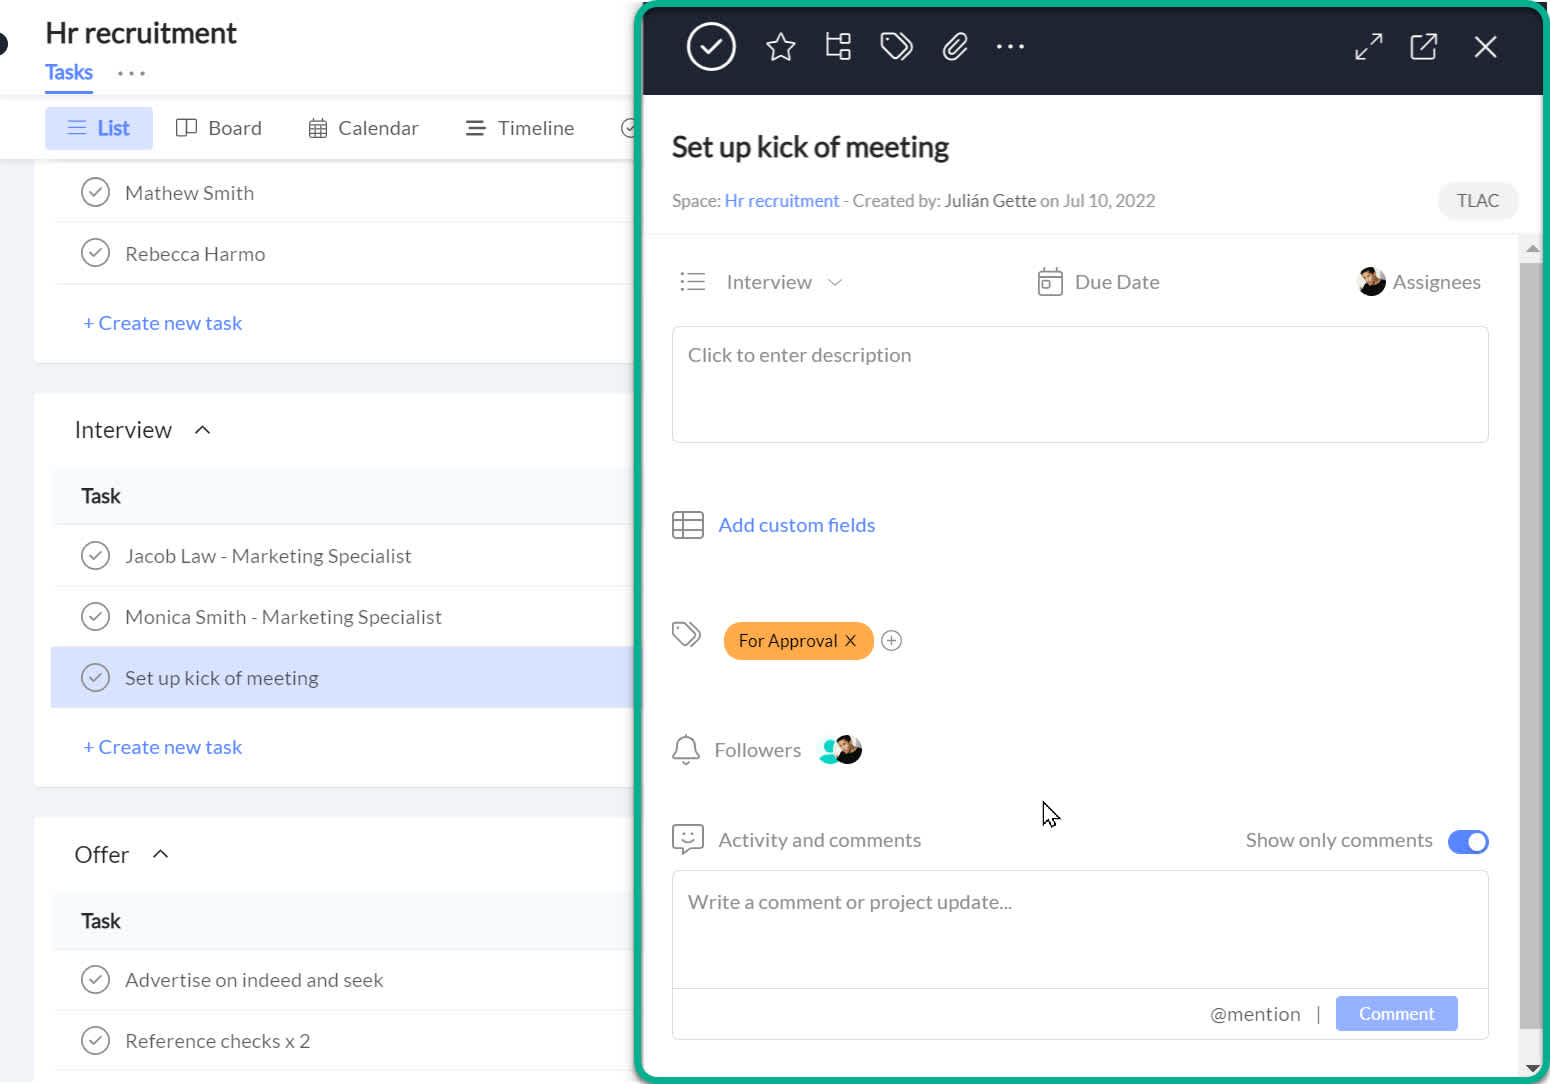
Once your lists are created, you can start adding tasks.
Click on the +Create new task button under the individual list to create new tasks.
Click on the people icon to add assignees, and on the calendar to add a due date. Press "Save" to complete the task.
You can then click on the task to expand it, allowing you to add a description, attachments, subtasks, tags, custom fields, activity and comments, and other task actions.*

* Certain features are only available with Premium (paid) Workast plans. For information on our plans, click here.