How to Use Slack to Collect Client Information
By
Sara Davis
Sara Davis is the Head of Growth at Workast.

Sara Davis is the Head of Growth at Workast.
Working with clients can be both challenging and rewarding. On the one hand, you get to build relationships and learn from each other - but on the other hand sometimes the back and forth causes confusion or misunderstanding in the relationship. Unhappy clients can have a negative effect on your bottom line. Keeping clients happy allows you more time to get things done, and less time managing minutia. This is where Workast Forms & email solutions come in handy.
With Workast Forms, you have the ability to create surveys (or forms) that will give you an easier way to aggregate data. Creating a form and sharing the link with your client will help you easily aggregate the data, while also taking some of the hassles out of middle-of-the-day phone calls.
Oftentimes, requests for client information is a repetitive process. Whether you are evaluating NPS scores, looking for login credentials, requesting information, or any other type of request - creating a form is the best way to simplify the process. These forms can be saved as templates and tweaked depending on your business/niche/or industry needs as well.
In this article, we’ll break down the process to build, share, get notifications via Slack, and access the customer data collection. Quickly turn your form-fill outs into actionable tasks, and store your client data, emails, and projects all in one place.
Do you have a channel you are already using for each client in Slack? Do you add them as guest users to your account? Great! With Workast you can set up an individual space to manage the workflow for that particular client the same way you already have it setup currently and running in Slack.
In the top-middle section of the space you want to create the form in, you will want to check the box to enable Forms. Once you've enabled Forms, you can start building your intake Form for your clients.
To build your Form in Workast, you will want to click on "create" and start creating your Form.
Name your form and add a description if desired. Click "Save." Make sure to update the privacy settings here as well.
Click on the Form privacy setting. By default, only members of your Workast team will be able to access the form. So, for your clients to be able to access it via link-sharing, you will want to change the settings to public. From there you can start compiling your form questionnaire.
Short text - A short question that typically requires a short response
Paragraph - A longer description box for more in-depth questions
Number - For numerical queries
Date - To be used for any date-specific queries
Multiple Choice - For any questions that you want to specify the exact selection from a criterion of options
Attachment - To be used when attachments need to be uploaded to the form questionnaire
Note* You can also start the creation process using Slack by typing in /form into the channel you'd like to use for aggregating the data. Or you can check out more about using shortcuts in Slack here.
Once your form is built, you will want to turn your notification setting preferences ON to ensure for every new task you get a notification in the channel you built your form in.
Once you are done, you simply click on the URL of your Form, and you're ready to share it with your clients. You can get the live URL by clicking the button in the middle of your toolbar.
To make sure you get notified through Slack, make sure to turn on notifications for new tasks being created in the channel you are using to store incoming client requests. To do that, simply go into the Slack settings in Workast and turn notifications on.
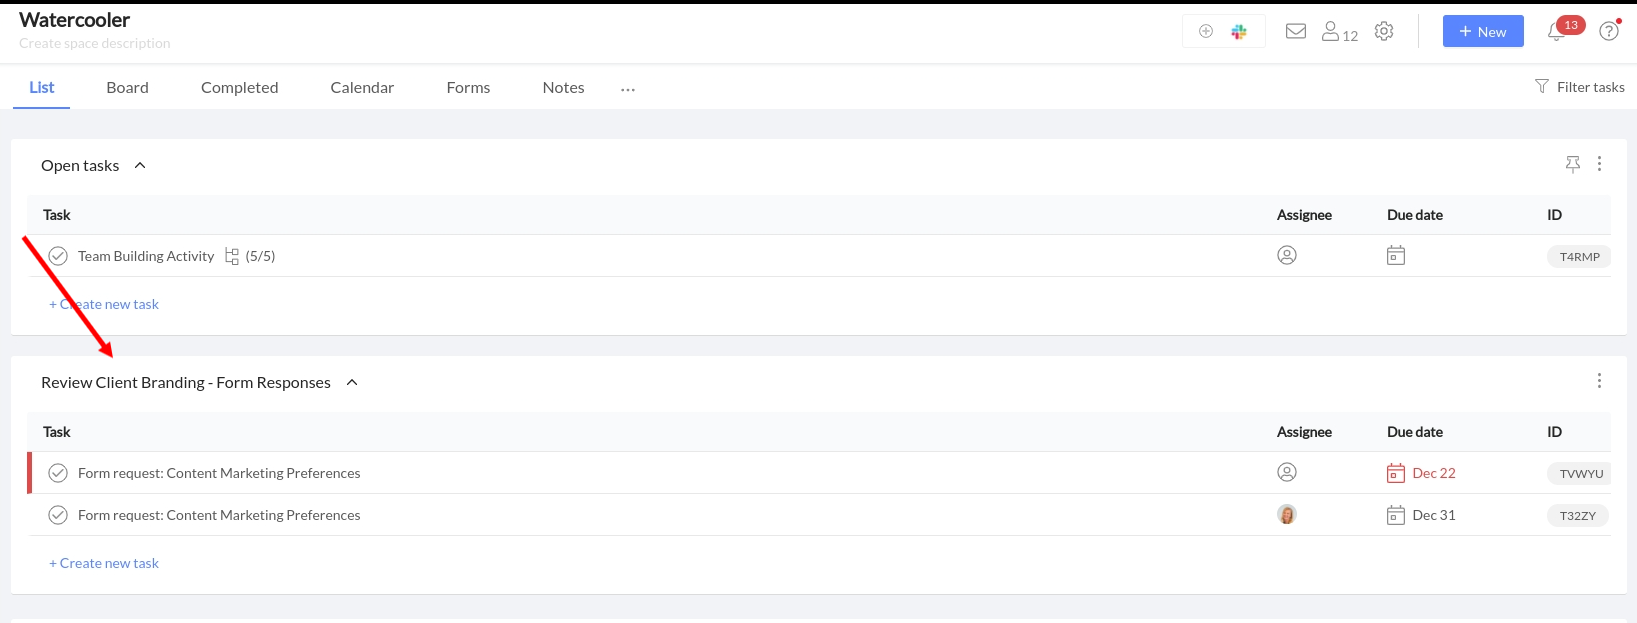
After you have sent out your Form to your clients, the responses will come back and show up under the associated list you have in Workast as tasks. From here, you can assign them to individual team members, add due dates, store the data, or use it as you best see fit.
Depending on your agency's usage of Forms, you can set up the tasks to work best for your goals here.
And voila! You have now simplified your client intake process. And it's simple and easy to tweak forms as needed in the future.
Another great way to store and collect data right through Workast is through email. By creating an individual space per client - you will have your own personalized Workast email per space. Save yourself time by having the clients email directly into the Workast email address associated with their space. Or, set up forwarding within your email server to automatically send the email into Workast.
This will allow you to not only have all the information in on space and save yourself from switching in between tabs - it will also make it so each email is an actionable task. Making it much harder to drop the ball on any type of communication.
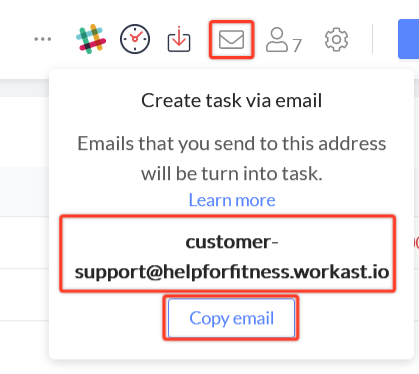
To find the email address associated with your space, click the email icon located above your space.
*Bonus tip - If your agency would prefer the emails going directly to your email address and can't set up forwarding from your server - another workaround for this, would be to have the account managers BCC this email every time they email your clients. That way, you'll still have the data there, and can always refer back to it.
*Alternatively, if you're looking to build your newsletter database check out this is email list building guide from Yieldify.
Agencies are busy. By gathering client data, and simplifying your client intake solutions with these two integrations - your team will have more time to deliver results to your clients. Which is the ultimate goal. Win, win all around.
How have you used forms or our email integration for your client solutions? We'd love to hear your processes. Send us a line or a tweet @workast to be featured as an example for our users! Here's to happy clients! Looking to add your workflow to Slack? Give us a try today!


